Tuesday, September 28, 2010

The Carpet is Here! The Carpet is Here!

The carpet installers came Monday morning at 9am and were done about 4pm.  Everything went smoothly (and with little damage to the walls - just a couple places to touch up).  Below are pictures of the carpet and the space now!

Tuftex Carpet by Shaw.  Color:  Brown Derby


Desk Corner.  The bottom drawers in the desk went back to the cabinet maker to be modified.  They are too low now - they drag on the carpet.


Fireplace & TV corner


Game Table Corner


Walk Up Bar


Hallway


Stairs


Sunday, September 26, 2010

The Carpet is Coming, The Carpet is Coming!!

FINALLY!!!  The carpet for our basement gets installed tomorrow morning (Monday) starting at 9am.  They MIGHT finish it tomorrow, but it could run into Tuesday.  Also, our cabinet guy is coming back tomorrow night to finish the install of the upper cabinets over the bar.  I halted that install until I finally got confirmation that we did not have to run any more electrical wires for the cabinet lighting.

This was our task list this weekend:
1.  Secure the guts of the light valance above the fireplace that I made (more on that later, maybe).
2.  Cut the holes in the bottom plate of the light valance to exact placement and size.
3.  Measure cut, scribe and sand the front of the light valance so it can be installed after the lighting is put in.
4.  Measure, cut and install the stainless steel inlay for the bar front (more on that later).
5.  Determine if the bag of grout we had in the store room matched the grout already on the floor of the laundry room (we still have to grout the threshold transition into the laundry room, so we needed it to match).  This involved gluing 3 leftover pieces of tile to a wood board and then mixing up some grout out of the mystery bag, grouting the "sample board" and letting it dry.  Yep - it matches.  But the threshold still isn't done...  A task for another day...
6.  Watch parts of a couple Twins games.
7.  Church.  I am now officially an elder-elect after our congregational meeting today!  Elder training coming soon and I'll begin my 3 year term on session in January.
8.  Watch a little of the Vikings game.  We won, but I realized after I was watching it for a bit that I had better things I could be doing that watching gramps throw a football...
9.  Move all tools, machines, electronics and furniture out of the basement family room.
10. Dust baseboards, corners, walls and ceilings.
11. Vacuum the basement floor.
12. Touch up painting on the fireplace wall.
13. Tell my wife how awesome she is (she really is!!)
14. Relax and wait for the transformation of the basement into a true living space in the coarse of 1 day.

Below is a short video I took of the basement as it exists right now (it's about a minute long).  Sorry, no narration.  The video speaks for itself...  Tomorrow - the same thing, with carpet! 

Monday, September 20, 2010

The Bar, Part II (Bar Front and Tile Install)

The is the granite tile we chose for the bar top.  It is 3/8" Santa Cecilia granite, 12" X 12". It has a mix of neutral tones (browns, tans and a little gray).  Our other option was New Venetian Gold, which typically has a little more gray in it.  We liked this one better.

Santa Cecilia Granite Tile (12" X 12")


The bar front cut and ready for install.  The screws have been pre-drilled and have had the countersinking done so they are flush with or slightly below the surface


The corner mitre with the corner tile dry set for fit


Dry fitting the tile


Setting the 1st tile (for real).  Karen pre-cut all the tile to save time, but I still worked with the thin set about 2 tiles at a time because I knew I had a couple high spots.  The thickness of the thinset varied a bit on the whole bar

The bar after being tiled.  I realized I didn't take any pictures of it during grouting, so this is as finished as you'll see it until the upper cabinets are in.

The stainless steel piece still needs to be cut and set in.

Sunday, September 19, 2010

The Bar, Part 1 (The Bar Front Saga)

Well, so much for me being a details guy.  With the countertop on the bar cabinets downstairs going to be granite 12" X 12" tiles, we were going to make the front of it (the overhang) granite as well.  That was before I did the math...  Allow me to explain...

The cabinets are 24" deep.  To be able to properly attach granite tile as the overhang meant it needed cement board behind it.  Since the overhang tiles would be up underneath the counter top tiles, the countertop tiles would end up being the entire depth of the counter + the overhang tiles.  24" + 1/2" cement board + thinset + 3/8" tile = the countertop depth is now ~25".  Using two 12" tiles would mean there would need to be a 1 inch strip of granite tile somewhere on the countertop.  Not the look we wanted.  We could lay the tile diagonally, but again, not the look we wanted. 

So, "inventor Dustin" to the rescue...  We decided to can the tile front in favor of a wood front, stained to match the cabinets.  But having it all wood would be boring.  So I came up with an idea for a design but wasn't sure if I could put all the pieces together.  I decided to inlay a strip of brushed stainless steel in the wood.  This ended up to be as much function as fashion.  Off to the internet to see what a bar of 1/8" x 1/2" x 8' stainless steel would cost me.  Allmetalsinc.com!  Success!  Precision cut to within 1/32" of the requested measurement.  And I can get the 8' piece and a 30" piece for the side for about $40 including shipping.  Hmmm...  It's raw stainless steel.  How can I brush stainless steel to get the look I want?  Off to the internet!  Excellent.  Looks like I'll have some luck with a belt sander.  Sold! 

I spent some time figuring out the design, but ended up I could only do the inlay in one place because I needed to use that inlay space to hide the screws that would hold the front in place.  The countertop was built up with two 1/2" pieces of plywood and 1/2" cement board.  The front, for stability, needed to be attached to the 2nd layer of plywood, so that's where the inlay had to be. Below are some pictures along the way:

End of the bar front after having Karen's brother router the pieces to my specification (Thanks, Mark for the use of your router table!)  This shows the contour of the bar front piece.  The upper left notch is where the tile will go and is meant to accomoate 1/16" grout lines.  The channel on the right is where the screws will go to fasten it to the counter and where the stainless steel inlay will be.


Staining to match the cabinets


The is the raw stainless steel bar I ordered off the internet


"Brushing" the stainless steel with a belt sander.  Karen had to put the camera down and come sit on the piece I was working on because I needed two hands to get more force.  I had to make sure I was keeping the belt as parallel to the stainless steel bar as possible so the brushing effect was straight.  P.S. Freshly brushed stainless steel takes quite a while to cool off.  Don't touch!!!


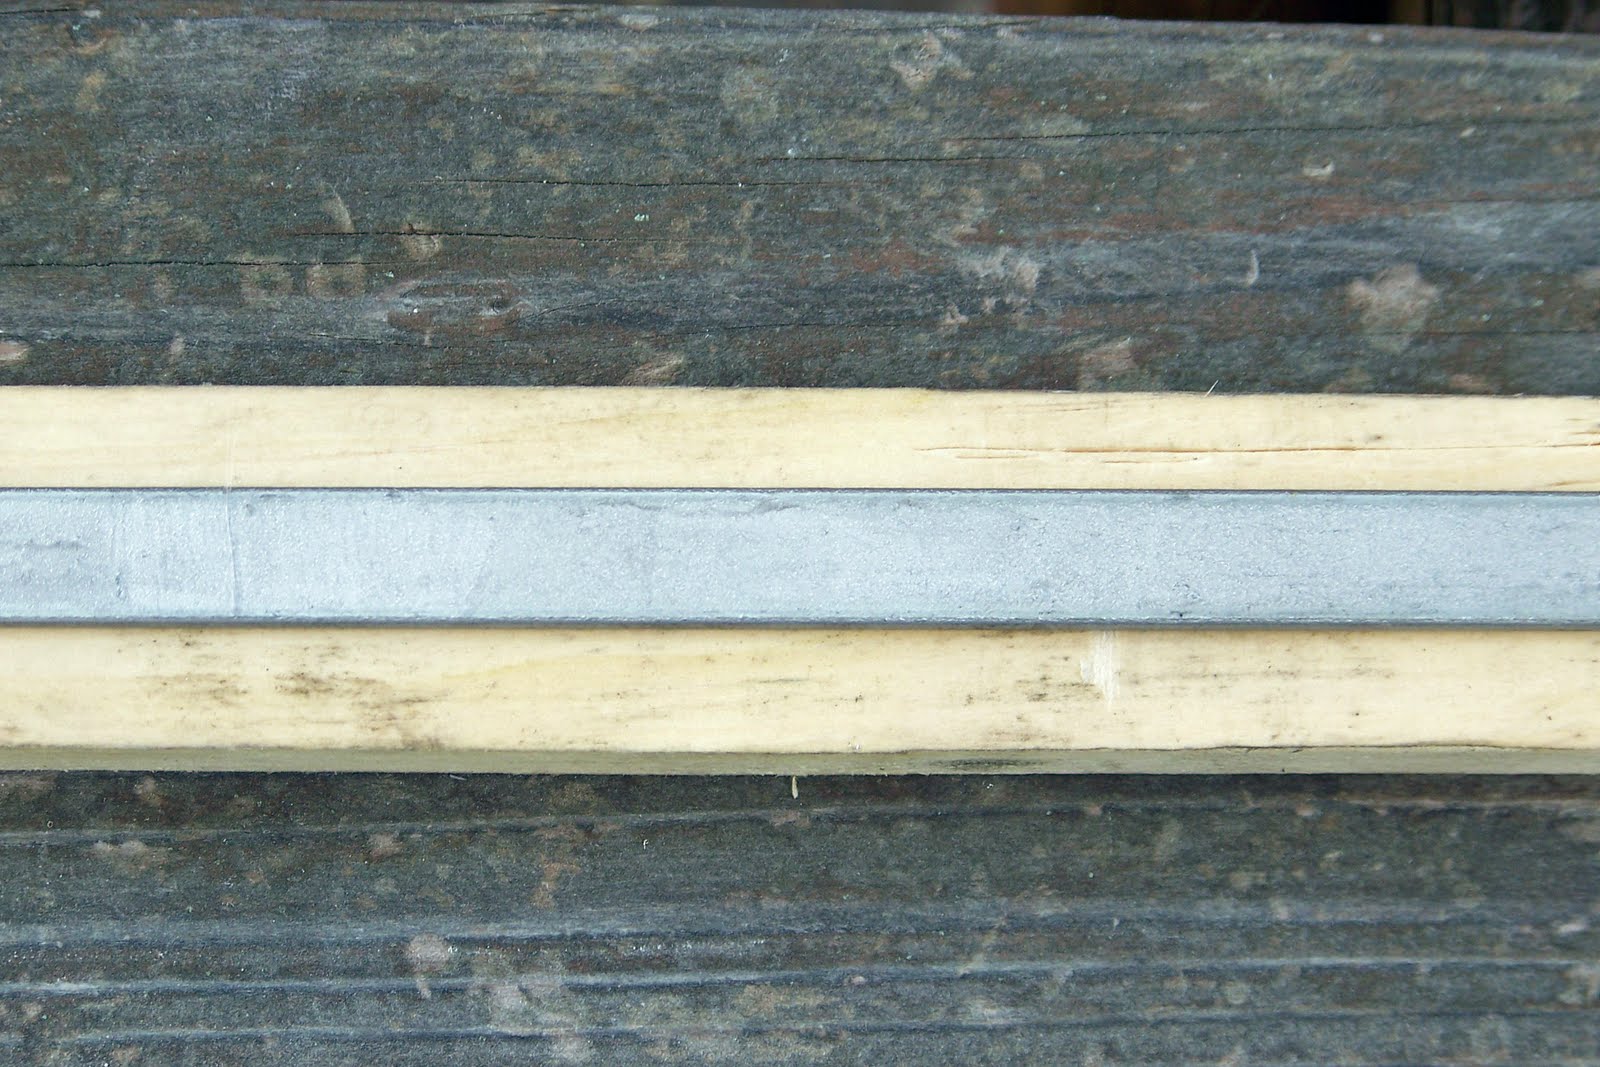
The after-product:  Brushed Stainless Steel


What the finished product will look like when installed.  Sorry for the bright spot...  After this picture was taken, we actually stripped the the piece down, restained and refinished it.  It was too dark and didn't match the cabinets closely enough.

Actually, after it was all said and done, this looks way better than having a granite tile front. 

Coming soon:  The bar front install, tiling and upper cabinet installation!  And our carpet order is supposed to be in by mid-week.  Installation of THAT should be this week or next!