Last month we met Jennifer Swanson for a photo shoot. She was looking for some victims, er... test subjects to begin building her photography business. For those of you who don't know, Jennifer is my sister-in-law's sister. She took a BUNCH of photos and the link below is to the ones that turned out the best. You will need Adobe Flash Player version 10 in order to view them. Check them out! And check out Jennifer's blog for prices for your own photo shoot. We think she did a GREAT job!
Thursday, November 4, 2010
Tuesday, October 5, 2010
Frito-Lay Trashes Compostable Bags
Praise God the revolt worked. Anyone who likes Sun Chips as much as we do knows that after Frito-Lay switched their bags to be 100% compostable, one really annoying feature came through loud and clear. The bags are super-annoyingly, off-the-decibel chart LOUD!!! If you are headed for a midnight snack, you best bypass the Sun Chips bag because you'll have the whole neighborhood up! Apparently, enough people complained and stopped buying the product that they are trashing the compostable bag for now. The picture is of our favorite variety (Garden Salsa)
Click here to read the article.
Tuesday, September 28, 2010
The Carpet is Here! The Carpet is Here!
The carpet installers came Monday morning at 9am and were done about 4pm. Everything went smoothly (and with little damage to the walls - just a couple places to touch up). Below are pictures of the carpet and the space now!
Tuftex Carpet by Shaw. Color: Brown Derby
Desk Corner. The bottom drawers in the desk went back to the cabinet maker to be modified. They are too low now - they drag on the carpet.
Fireplace & TV corner
Game Table Corner
Walk Up Bar
Hallway
Stairs
Sunday, September 26, 2010
The Carpet is Coming, The Carpet is Coming!!
FINALLY!!! The carpet for our basement gets installed tomorrow morning (Monday) starting at 9am. They MIGHT finish it tomorrow, but it could run into Tuesday. Also, our cabinet guy is coming back tomorrow night to finish the install of the upper cabinets over the bar. I halted that install until I finally got confirmation that we did not have to run any more electrical wires for the cabinet lighting.
This was our task list this weekend:
1. Secure the guts of the light valance above the fireplace that I made (more on that later, maybe).
2. Cut the holes in the bottom plate of the light valance to exact placement and size.
3. Measure cut, scribe and sand the front of the light valance so it can be installed after the lighting is put in.
4. Measure, cut and install the stainless steel inlay for the bar front (more on that later).
5. Determine if the bag of grout we had in the store room matched the grout already on the floor of the laundry room (we still have to grout the threshold transition into the laundry room, so we needed it to match). This involved gluing 3 leftover pieces of tile to a wood board and then mixing up some grout out of the mystery bag, grouting the "sample board" and letting it dry. Yep - it matches. But the threshold still isn't done... A task for another day...
6. Watch parts of a couple Twins games.
7. Church. I am now officially an elder-elect after our congregational meeting today! Elder training coming soon and I'll begin my 3 year term on session in January.
8. Watch a little of the Vikings game. We won, but I realized after I was watching it for a bit that I had better things I could be doing that watching gramps throw a football...
9. Move all tools, machines, electronics and furniture out of the basement family room.
10. Dust baseboards, corners, walls and ceilings.
11. Vacuum the basement floor.
12. Touch up painting on the fireplace wall.
13. Tell my wife how awesome she is (she really is!!)
14. Relax and wait for the transformation of the basement into a true living space in the coarse of 1 day.
This was our task list this weekend:
1. Secure the guts of the light valance above the fireplace that I made (more on that later, maybe).
2. Cut the holes in the bottom plate of the light valance to exact placement and size.
3. Measure cut, scribe and sand the front of the light valance so it can be installed after the lighting is put in.
4. Measure, cut and install the stainless steel inlay for the bar front (more on that later).
5. Determine if the bag of grout we had in the store room matched the grout already on the floor of the laundry room (we still have to grout the threshold transition into the laundry room, so we needed it to match). This involved gluing 3 leftover pieces of tile to a wood board and then mixing up some grout out of the mystery bag, grouting the "sample board" and letting it dry. Yep - it matches. But the threshold still isn't done... A task for another day...
6. Watch parts of a couple Twins games.
7. Church. I am now officially an elder-elect after our congregational meeting today! Elder training coming soon and I'll begin my 3 year term on session in January.
8. Watch a little of the Vikings game. We won, but I realized after I was watching it for a bit that I had better things I could be doing that watching gramps throw a football...
9. Move all tools, machines, electronics and furniture out of the basement family room.
10. Dust baseboards, corners, walls and ceilings.
11. Vacuum the basement floor.
12. Touch up painting on the fireplace wall.
13. Tell my wife how awesome she is (she really is!!)
14. Relax and wait for the transformation of the basement into a true living space in the coarse of 1 day.
Below is a short video I took of the basement as it exists right now (it's about a minute long). Sorry, no narration. The video speaks for itself... Tomorrow - the same thing, with carpet!
Monday, September 20, 2010
The Bar, Part II (Bar Front and Tile Install)
The is the granite tile we chose for the bar top. It is 3/8" Santa Cecilia granite, 12" X 12". It has a mix of neutral tones (browns, tans and a little gray). Our other option was New Venetian Gold, which typically has a little more gray in it. We liked this one better.
Santa Cecilia Granite Tile (12" X 12")
The bar front cut and ready for install. The screws have been pre-drilled and have had the countersinking done so they are flush with or slightly below the surface
The corner mitre with the corner tile dry set for fit
Dry fitting the tile
Setting the 1st tile (for real). Karen pre-cut all the tile to save time, but I still worked with the thin set about 2 tiles at a time because I knew I had a couple high spots. The thickness of the thinset varied a bit on the whole bar
The bar after being tiled. I realized I didn't take any pictures of it during grouting, so this is as finished as you'll see it until the upper cabinets are in.
The stainless steel piece still needs to be cut and set in.
Sunday, September 19, 2010
The Bar, Part 1 (The Bar Front Saga)
Well, so much for me being a details guy. With the countertop on the bar cabinets downstairs going to be granite 12" X 12" tiles, we were going to make the front of it (the overhang) granite as well. That was before I did the math... Allow me to explain...
The cabinets are 24" deep. To be able to properly attach granite tile as the overhang meant it needed cement board behind it. Since the overhang tiles would be up underneath the counter top tiles, the countertop tiles would end up being the entire depth of the counter + the overhang tiles. 24" + 1/2" cement board + thinset + 3/8" tile = the countertop depth is now ~25". Using two 12" tiles would mean there would need to be a 1 inch strip of granite tile somewhere on the countertop. Not the look we wanted. We could lay the tile diagonally, but again, not the look we wanted.
So, "inventor Dustin" to the rescue... We decided to can the tile front in favor of a wood front, stained to match the cabinets. But having it all wood would be boring. So I came up with an idea for a design but wasn't sure if I could put all the pieces together. I decided to inlay a strip of brushed stainless steel in the wood. This ended up to be as much function as fashion. Off to the internet to see what a bar of 1/8" x 1/2" x 8' stainless steel would cost me. Allmetalsinc.com! Success! Precision cut to within 1/32" of the requested measurement. And I can get the 8' piece and a 30" piece for the side for about $40 including shipping. Hmmm... It's raw stainless steel. How can I brush stainless steel to get the look I want? Off to the internet! Excellent. Looks like I'll have some luck with a belt sander. Sold!
I spent some time figuring out the design, but ended up I could only do the inlay in one place because I needed to use that inlay space to hide the screws that would hold the front in place. The countertop was built up with two 1/2" pieces of plywood and 1/2" cement board. The front, for stability, needed to be attached to the 2nd layer of plywood, so that's where the inlay had to be. Below are some pictures along the way:
The cabinets are 24" deep. To be able to properly attach granite tile as the overhang meant it needed cement board behind it. Since the overhang tiles would be up underneath the counter top tiles, the countertop tiles would end up being the entire depth of the counter + the overhang tiles. 24" + 1/2" cement board + thinset + 3/8" tile = the countertop depth is now ~25". Using two 12" tiles would mean there would need to be a 1 inch strip of granite tile somewhere on the countertop. Not the look we wanted. We could lay the tile diagonally, but again, not the look we wanted.
So, "inventor Dustin" to the rescue... We decided to can the tile front in favor of a wood front, stained to match the cabinets. But having it all wood would be boring. So I came up with an idea for a design but wasn't sure if I could put all the pieces together. I decided to inlay a strip of brushed stainless steel in the wood. This ended up to be as much function as fashion. Off to the internet to see what a bar of 1/8" x 1/2" x 8' stainless steel would cost me. Allmetalsinc.com! Success! Precision cut to within 1/32" of the requested measurement. And I can get the 8' piece and a 30" piece for the side for about $40 including shipping. Hmmm... It's raw stainless steel. How can I brush stainless steel to get the look I want? Off to the internet! Excellent. Looks like I'll have some luck with a belt sander. Sold!
I spent some time figuring out the design, but ended up I could only do the inlay in one place because I needed to use that inlay space to hide the screws that would hold the front in place. The countertop was built up with two 1/2" pieces of plywood and 1/2" cement board. The front, for stability, needed to be attached to the 2nd layer of plywood, so that's where the inlay had to be. Below are some pictures along the way:
End of the bar front after having Karen's brother router the pieces to my specification (Thanks, Mark for the use of your router table!) This shows the contour of the bar front piece. The upper left notch is where the tile will go and is meant to accomoate 1/16" grout lines. The channel on the right is where the screws will go to fasten it to the counter and where the stainless steel inlay will be.
Staining to match the cabinets
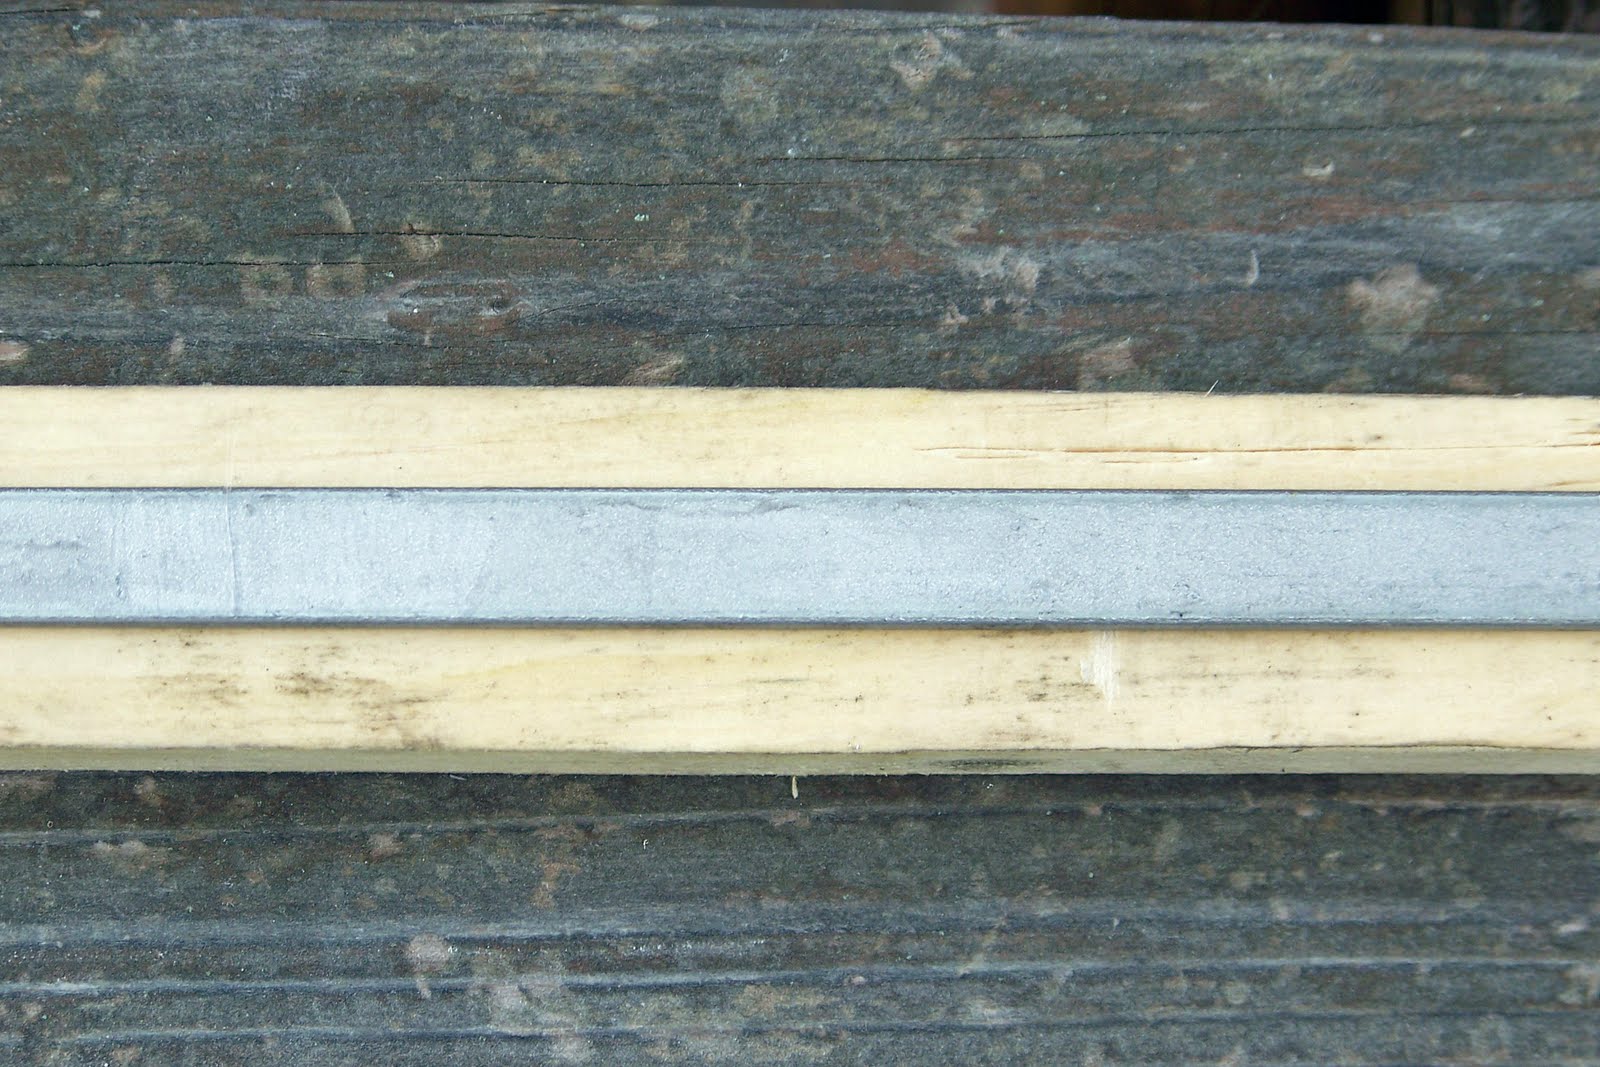
The is the raw stainless steel bar I ordered off the internet
"Brushing" the stainless steel with a belt sander. Karen had to put the camera down and come sit on the piece I was working on because I needed two hands to get more force. I had to make sure I was keeping the belt as parallel to the stainless steel bar as possible so the brushing effect was straight. P.S. Freshly brushed stainless steel takes quite a while to cool off. Don't touch!!!
The after-product: Brushed Stainless Steel
What the finished product will look like when installed. Sorry for the bright spot... After this picture was taken, we actually stripped the the piece down, restained and refinished it. It was too dark and didn't match the cabinets closely enough.
Actually, after it was all said and done, this looks way better than having a granite tile front.
Coming soon: The bar front install, tiling and upper cabinet installation! And our carpet order is supposed to be in by mid-week. Installation of THAT should be this week or next!
Thursday, August 26, 2010
Twins Games
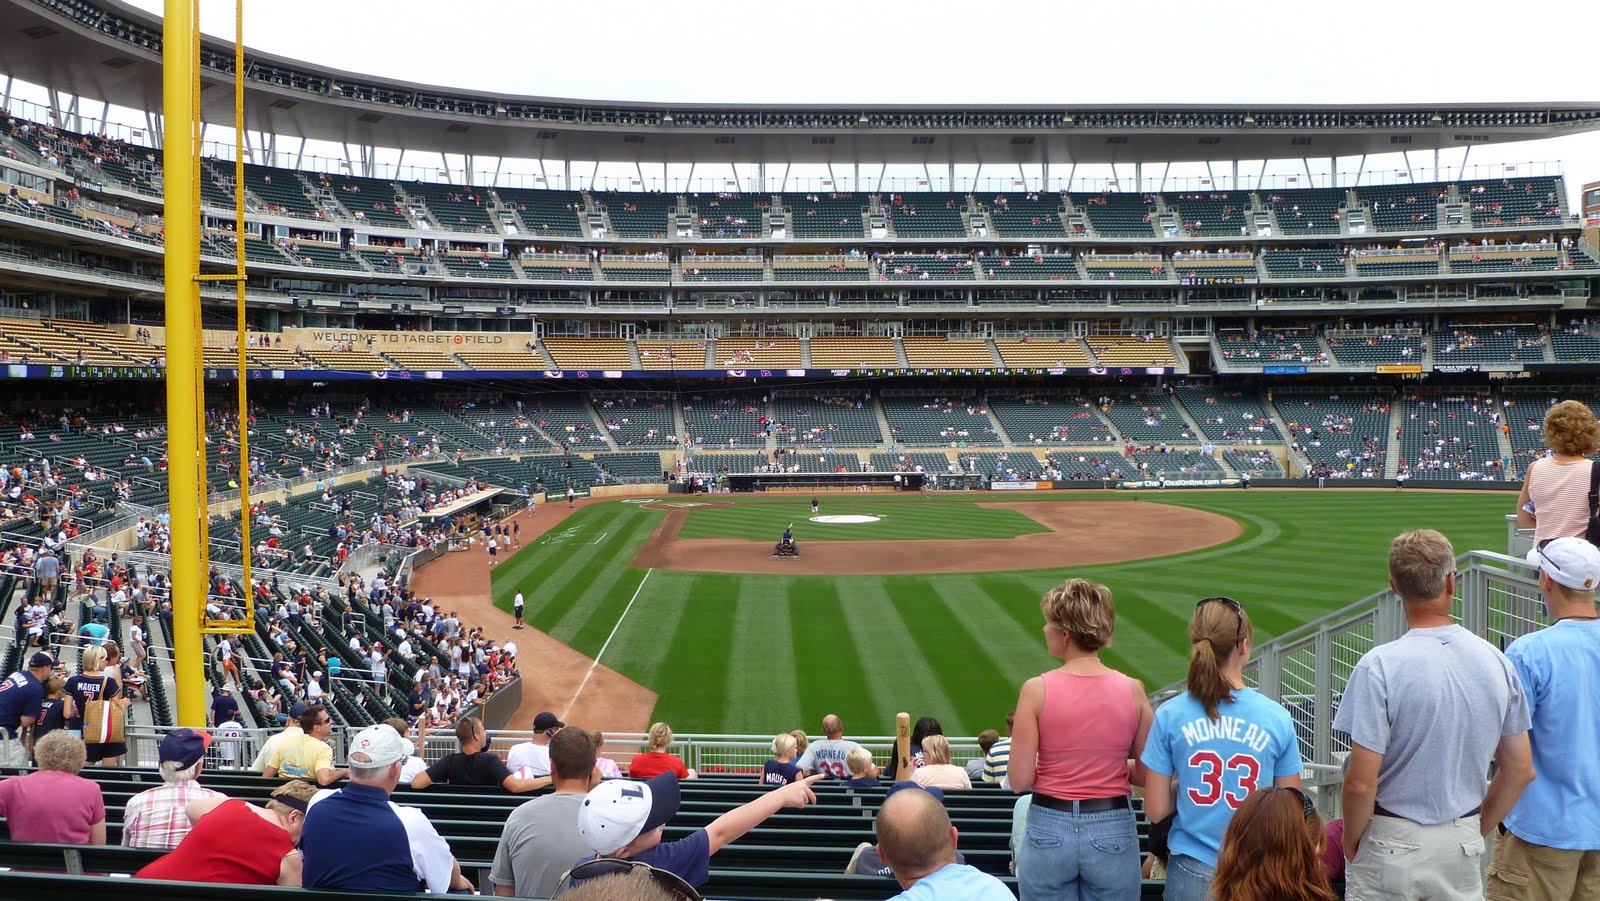
As I watch the Twins on TV tonight take care of the Texas Rangers (hee hee), I realized I haven't blogged about the Twins games we recently enjoyed at Target Field, the Twins new ballpark, in downtown Minneapolis. The first game we took in was on Sunday, August 1st. It was a 1:10pm game and we went with about 30 people from our church. We all got to sit in the same section and enjoyed watching the Twins beat the Seattle Mariners 4-0. It was hot and humid that day, but the sun stayed under until it was behind the seating area, so it wasn't bad. Here are some pictures from that game:
One of several gates entering Target Field
This was taken from the plaza level. Our seats for this game are way in the upper right hand corner of the picture.
A picture from our seats. This was before the game so not everyone was there yet.
A view of downtown from our seats.
The second game we got to go to was very different. On Thurs, August 19th, we went to an evening game with the tickets Karen got me for my birthday. We were in section 121, row 5, just up from 3rd base. Much better seats! We were playing the Chicago White Sox, our inter-divisional rival. The first two games of the series on Tuesday and Wednesday I had watched on TV and they were awesome games!! We won both of them, coming from behind. The Tuesday game, we won on a walk-off home run in the bottom of the 9th. The game on Thursday that we went to was completely the opposite. It was miserable from the first pitch to the last and we lost (0-11, I think... I'm trying to put it behind us!). Either way, they were great seats and we had fun. It was a nice evening to enjoy outdoor baseball!
The view from our seats for the second game (no zoom on the camera!)
A meeting at the pitchers mound. Carl Pavano pitched WAY too many innings as far as I was concerned.
Target Field is an awesome facility. Easy to get into, out of and around. Metro Transit offers express bus service from the parking garage at I-394 & Hopkins Crossroad, which is pretty close to our place. It's $4.50 per person round trip and is cheaper (and easier) than trying to park downtown when there is only two of us. They drop you off at the freeway level below the ballpark and pick you up on the other side. Sweet deal!
Wednesday, August 4, 2010
Whiz Bang Days
It was Whiz Bang Days in Robbinsdale a few weekends ago. We didn't go to any of the festivities except the fireworks show. They shoot them off just a couple blocks from North Memorial. AND, since we have access to the parking ramp at North, we were able to enjoy the fireworks from the top of the ramp (7 stories up). Below are some pictures I shot with the camera I got just before leaving for vacation. It's a Panasonic FH20. I wanted something I could shove in my pocket instead of carrying around something that needed to be in a bag that was bigger than a fanny pack, so this is a point and shoot camera. I think the camera did a pretty good job here. Maybe a little yellow on the street shots:
A different setting - it didn't take in as much light
Looking Northwest up Bottineau Blvd (County Rd 81) from the top of the ramp
Looking the other way on County Rd 81
The Minneapolis skyline is in the background
Black Hills Trip - Day 9
Friday, July 2: Rapid City, SD to Crystal, MN
Well, our Black Hills trip has (sadly) nearly come to an end. Today is all travel back home. The Grand Gateway Hotel, unfortunately, didn't offer breakfast, BUT it was attached to a Perkins Restaurant. We chowed down and then headed on the road. We stopped twice - once for a bathroom break and the other for bathroom & gas. Leaving at 9am MDT, we got back just before 7pm CDT, so it was a 9 hour trip. We each took turns driving (except Nathan!) throughout the trip. Karen taught Nathan how to do Sodoku puzzles and Dustin and Nathan played some Rock-Paper-Scissors (then we amped it up and played Rock-Paper-Scissors Poker, using fake money we kept track of in our head!)
As for our license plate game, we all made a guess early in the trip as to how many different states we'd see. The winner got $1 from each of the losers. Here were our guesses:
Dustin - 30
Karen - 33
Diane - 38
Nathan - 39
The final number of states observed:
47
Forty-seven!!! Nathan won! The states we did not see on the trip were:
Rhode Island
New Hampshire
West Virginia
We grilled burgers and brats after we got home and declared the official end to our vacation. :( Diane and Nathan stayed until Sunday afternoon. It was an awesome vacation and there is so very little that we would probably do differently. We saw so much in so little time, but we didn't over do it.
Thanks for all who have been reading these posts - each day took longer to put together than I figured, but it's been fun to do. I can't believe it's been 4 weeks since we got back! I have a couple other posts that are waiting to be done, so check back soon!
Subscribe to:
Posts (Atom)